As you've probably guessed by the title of my article, I still consider Ruby on Rails as a relevant technology that offers a lot of value, especially when combined with ReactJS as it's frontend counterpart. Here's how I approach the topic.
If you’re beginning your first adventure with web development, especially with Rails and JavaScript, you may be a bit lost with local environment configuration. There are a lot of things to work on, such as text editor, terminal, server, and browser. If you used to write code in C#, C++, or Java, you probably wrote it in IDE and compiled everything together. Here in web development with Rails, you just need a simple text editor and terminal.
In this article, I’ll cover how to configure everything together on macOS and most of UNIX-like systems. If you want to learn and develop Rails applications using Windows – please don’t do it – you’ll fail badly. Instead, install any distribution of Linux on a virtual machine.
Terminal – visual aspects
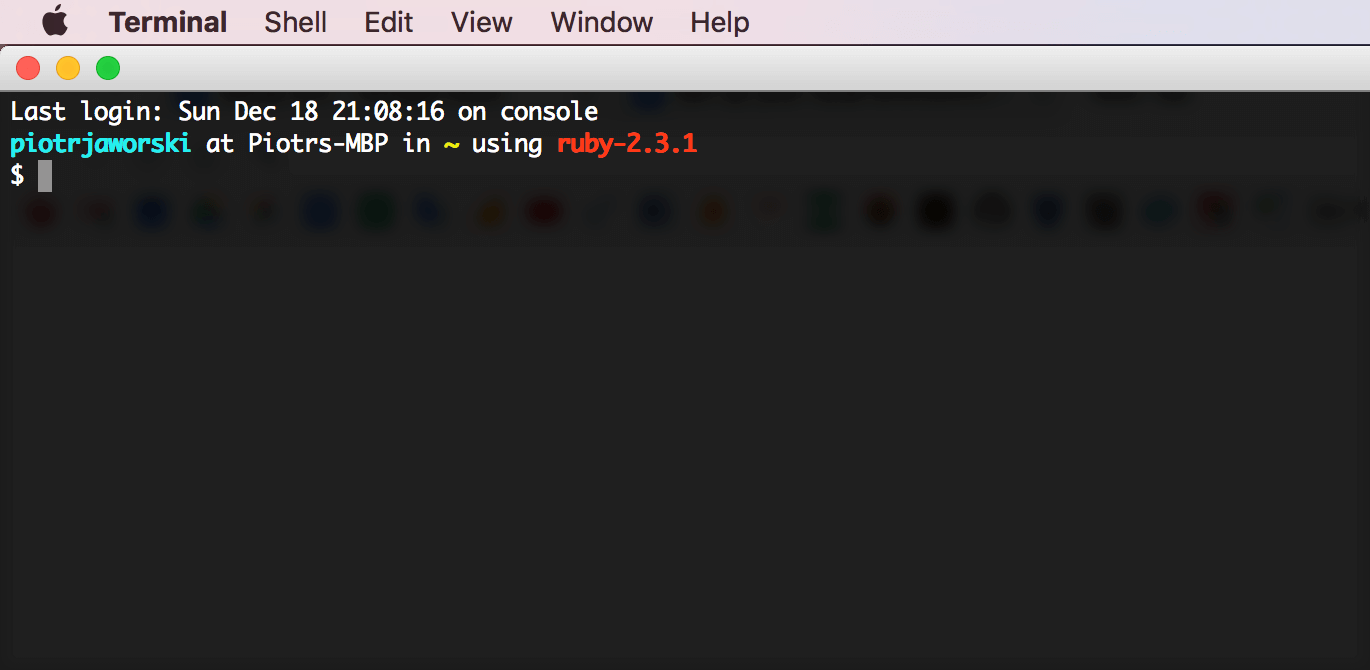
Using terminal is very important. Without well-configured terminal, it’s really hard to develop any kind of technology. It’s even hard to install Git, Rails, or RVM. If you want to use my settings, feel free to download it from here. This is what my terminal looks like:
Terminal – technical aspects
A packages manager, such as yum or apt-get on Linux systems, is also very important to use. MacOS is missing it, so we need to install it fist. I suggest to do it using brew. It’s great and open sourced, meaning that it’s completely free.
To install it run:
$ /usr/bin/ruby -e "$(curl -fsSL https://raw.githubusercontent.com/Homebrew/install/master/install)"
Once you have installed brew, install a few missing things using brew:
$ brew install wget
$ brew install git
$ brew install redis
$ brew install gpg
$ brew install node
As you can see, we just installed git. It’s ready to use but needs to be configured.
Add a config file in your home path (~/), eg. /Users/piotrjaworski/.gitconfig:
[alias]
    ci = commit -am
    st = status
    br = branch
    co = checkout
    tree = log --graph --oneline --all
    lgc = log --graph --format=format:'%Cred%h%Creset - %C(bold green)(%ar)%C(reset) %C(white)%s%C(reset) %C(cyan)[%an]%C(reset)%C(bold yellow)%d%C(reset)' --abbrev-commit --date=relative
    lg = !"git lgc --all"
[user]
    email = [email protected]
    name = Your Name
[color]
    ui = true
[core]
    editor = vim
What have we added here? A bunch of aliases, code editor, and user info. If you want to check repository’s status, you don’t need to run ‘git status’, instead you can just run ‘git st’.
The git lg alias prints a big tree with all branches and commits, which looks like:

RVM – Ruby Version Manager
RVM provides easy managing with Ruby and Gemsets.
To install it run:
$ gpg --keyserver hkp://keys.gnupg.net --recv-keys 409B6B1796C275462A1703113804BB82D39DC0E3
$ curl -sSL https://get.rvm.io | bash -s stable
When you’ve installed RVM, we can install Ruby with Bundler and Rails:
$ rvm install 2.3.1
$ gem install bundler
$ gem install rails
Great! From now, you can start a new Rails project running:
$ rails new my_new_project
Databases – MySQL
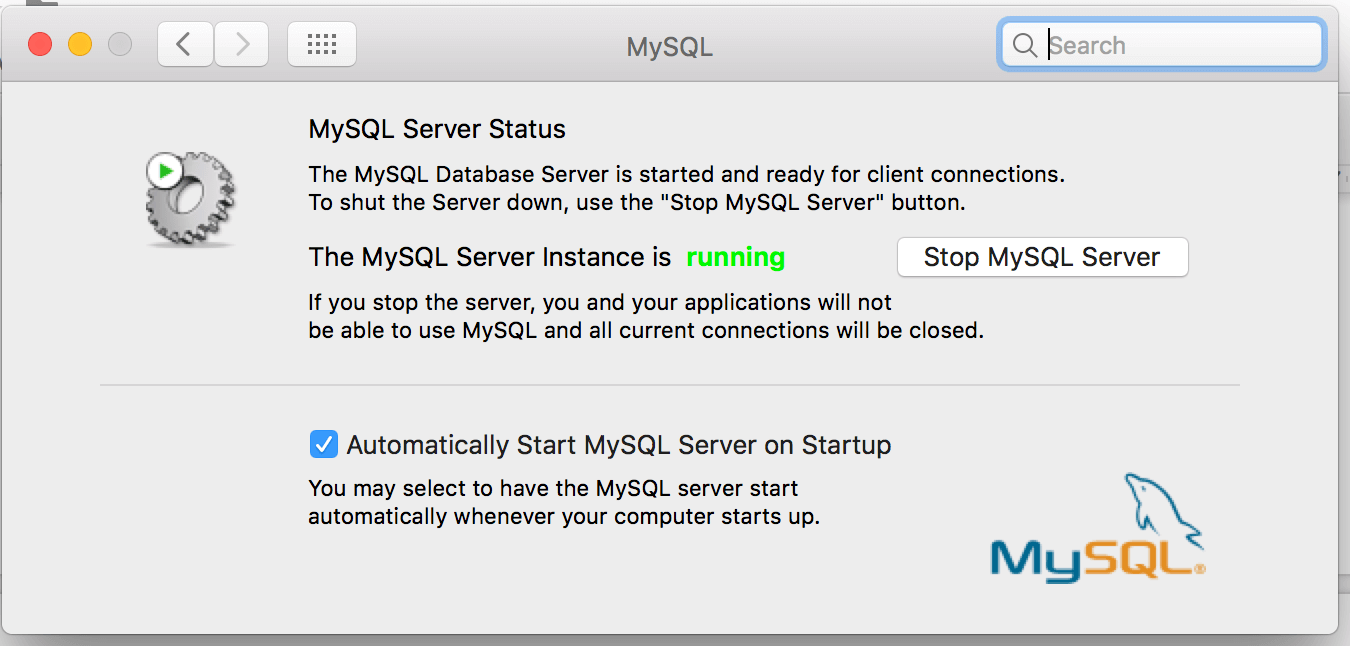
MySQL is one of the options if you want to use SQL database in your Rails app project.
To install it – click here. This download includes a DMG file, and by running it, an installation wizard will set up a whole environment for you. After all, MySQL settings addon will be available in System Preferences.
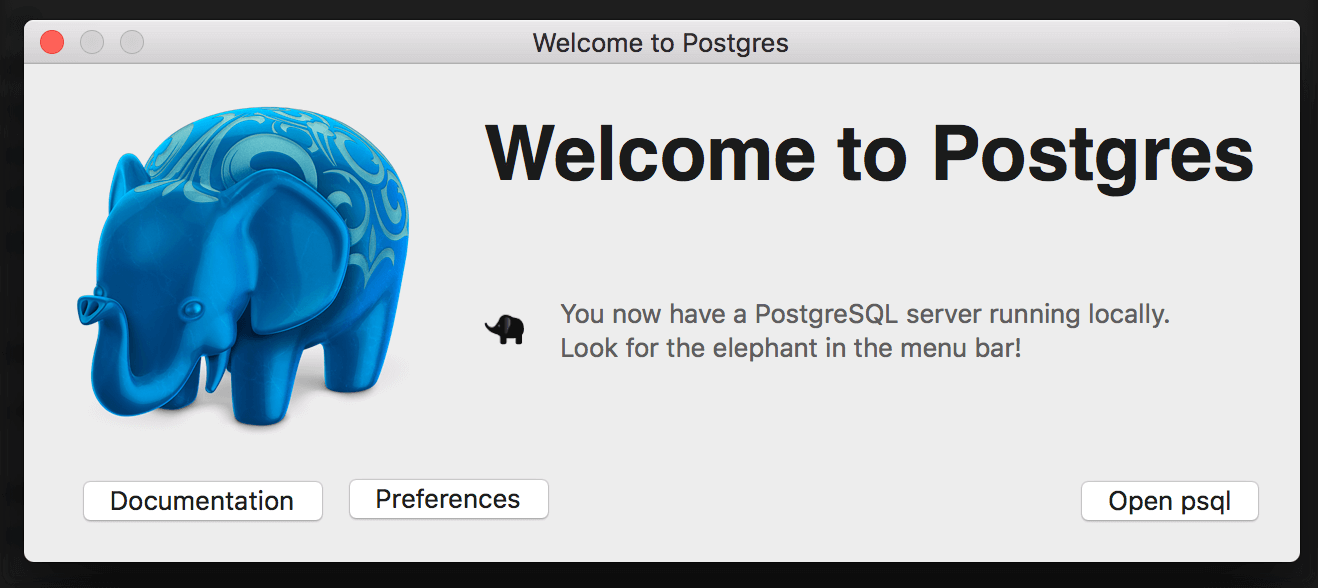
Databases – PostgreSQL
PostgreSQL is the next SQL database system and there are plenty of options to get it. You can install it via brew or download a great tool that allows you to run PostgreSQL as a normal application. You can get it from here. After installation, just run it. PostgreSQL will run.
To run psql command, you need run this line to your .bash_profile file in ~/ path.
export PATH=$PATH:/Applications/Postgres.app/Contents/Versions/latest/bin:/usr/local/mysql/bin
Databases – MongoDB
MongoDB is one of the NoSQL databases. To install it run:
$ brew install mongodb
$ sudo mkdir -p /data/db
To run MongoDB as a daemon:
$ sudo mongod
If you want to access a Mongo console (mongod must run as a background process):
$ mongo
Bash Profile
BashProfile is quite an important file. It keeps all aliases, configs, and functions that are accessible from terminal. It runs while you open a terminal tab or window. As you may have noticed, I have customized a bash session prompt. It shows current user, machine, current directory path, rvm version, and git branch (if you’re inside a repository). Here is my .bash_profile file:
export USERBINS=~/bins
export LANG=en_US.UTF-8
export PATH=$PATH:/Applications/Postgres.app/Contents/Versions/latest/bin:/usr/local/mysql/bin

SHELL_SESSION_HISTORY=0

alias ls='ls -GFh'
alias r='rails'
alias g='git'

parse_git_branch() {
     git branch 2> /dev/null | sed -e '/^[^*]/d' -e 's/* (.*)/ (1)/'
}

function parse_rvm {
     echo $(rvm current) | cut -f1,1 -d' '
}

PS1='[�33[01;36m]${debian_chroot:+($debian_chroot)}u�33[00m] at h in [�33[01;33m]w[�33[00m] using [e[01;31m]$(parse_rvm)[e[0m][e[01;32m]$(parse_git_branch)[e[0m]n$ '

# Add tab completion for SSH hostnames based on ~/.ssh/config, ignoring wildcards
[ -e "$HOME/.ssh/config" ] && complete -o "default" -o "nospace" -W "$(grep "^Host" ~/.ssh/config | grep -v "[?*]" | cut -d " " -f2)" scp sftp ssh

if [ -f ~/.git-completion.bash ]; then
     . ~/.git-completion.bash
fi

[[ -s "$HOME/.profile" ]] && source "$HOME/.profile" # Load the default .profile

[[ -s "$HOME/.rvm/scripts/rvm" ]] && source "$HOME/.rvm/scripts/rvm" # Load RVM into a shell session *as a function*

ssh-add -A 2>/dev/null;
It looks like:

SublimeText
SublimeText is great text editor that is free for non-commercial uses and helps you to get productive. I’ll cover the best plugins that I use and are really helpful for me. You can get it from here. I’ll also share with you my config file.
One important thing is to add an alias – sublime. It allows you to open single files or full directory from terminal, by running:
$ sublime my_file.rb
$ sublime .
To add it, run:
$ ln -s /Applications/Sublime Text.app/Contents/SharedSupport/bin/subl /usr/local/bin/sublime
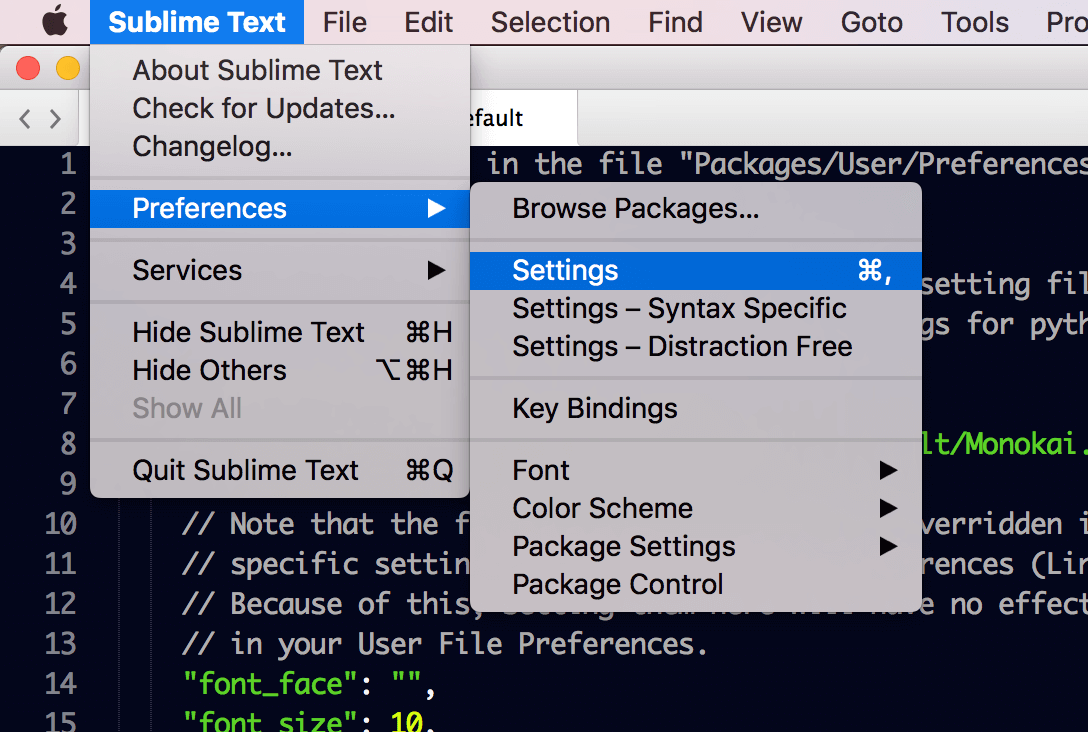
Let’s start by installing Sublime Package Control. It allows you to install 3rd part plugins to our text editor. To do so, type ctrl + ` and paste to the console the code below and press enter:
import urllib.request,os,hashlib; h = 'df21e130d211cfc94d9b0905775a7c0f' + '1e3d39e33b79698005270310898eea76'; pf = 'Package Control.sublime-package'; ipp = sublime.installed_packages_path(); urllib.request.install_opener( urllib.request.build_opener( urllib.request.ProxyHandler()) ); by = urllib.request.urlopen( 'http://packagecontrol.io/' + pf.replace(' ', '%20')).read(); dh = hashlib.sha256(by).hexdigest(); print('Error validating download (got %s instead of %s), please try manual install' % (dh, h)) if dh != h else open(os.path.join( ipp, pf), 'wb' ).write(by)Now you can run it by typing: cmd + shift + p.
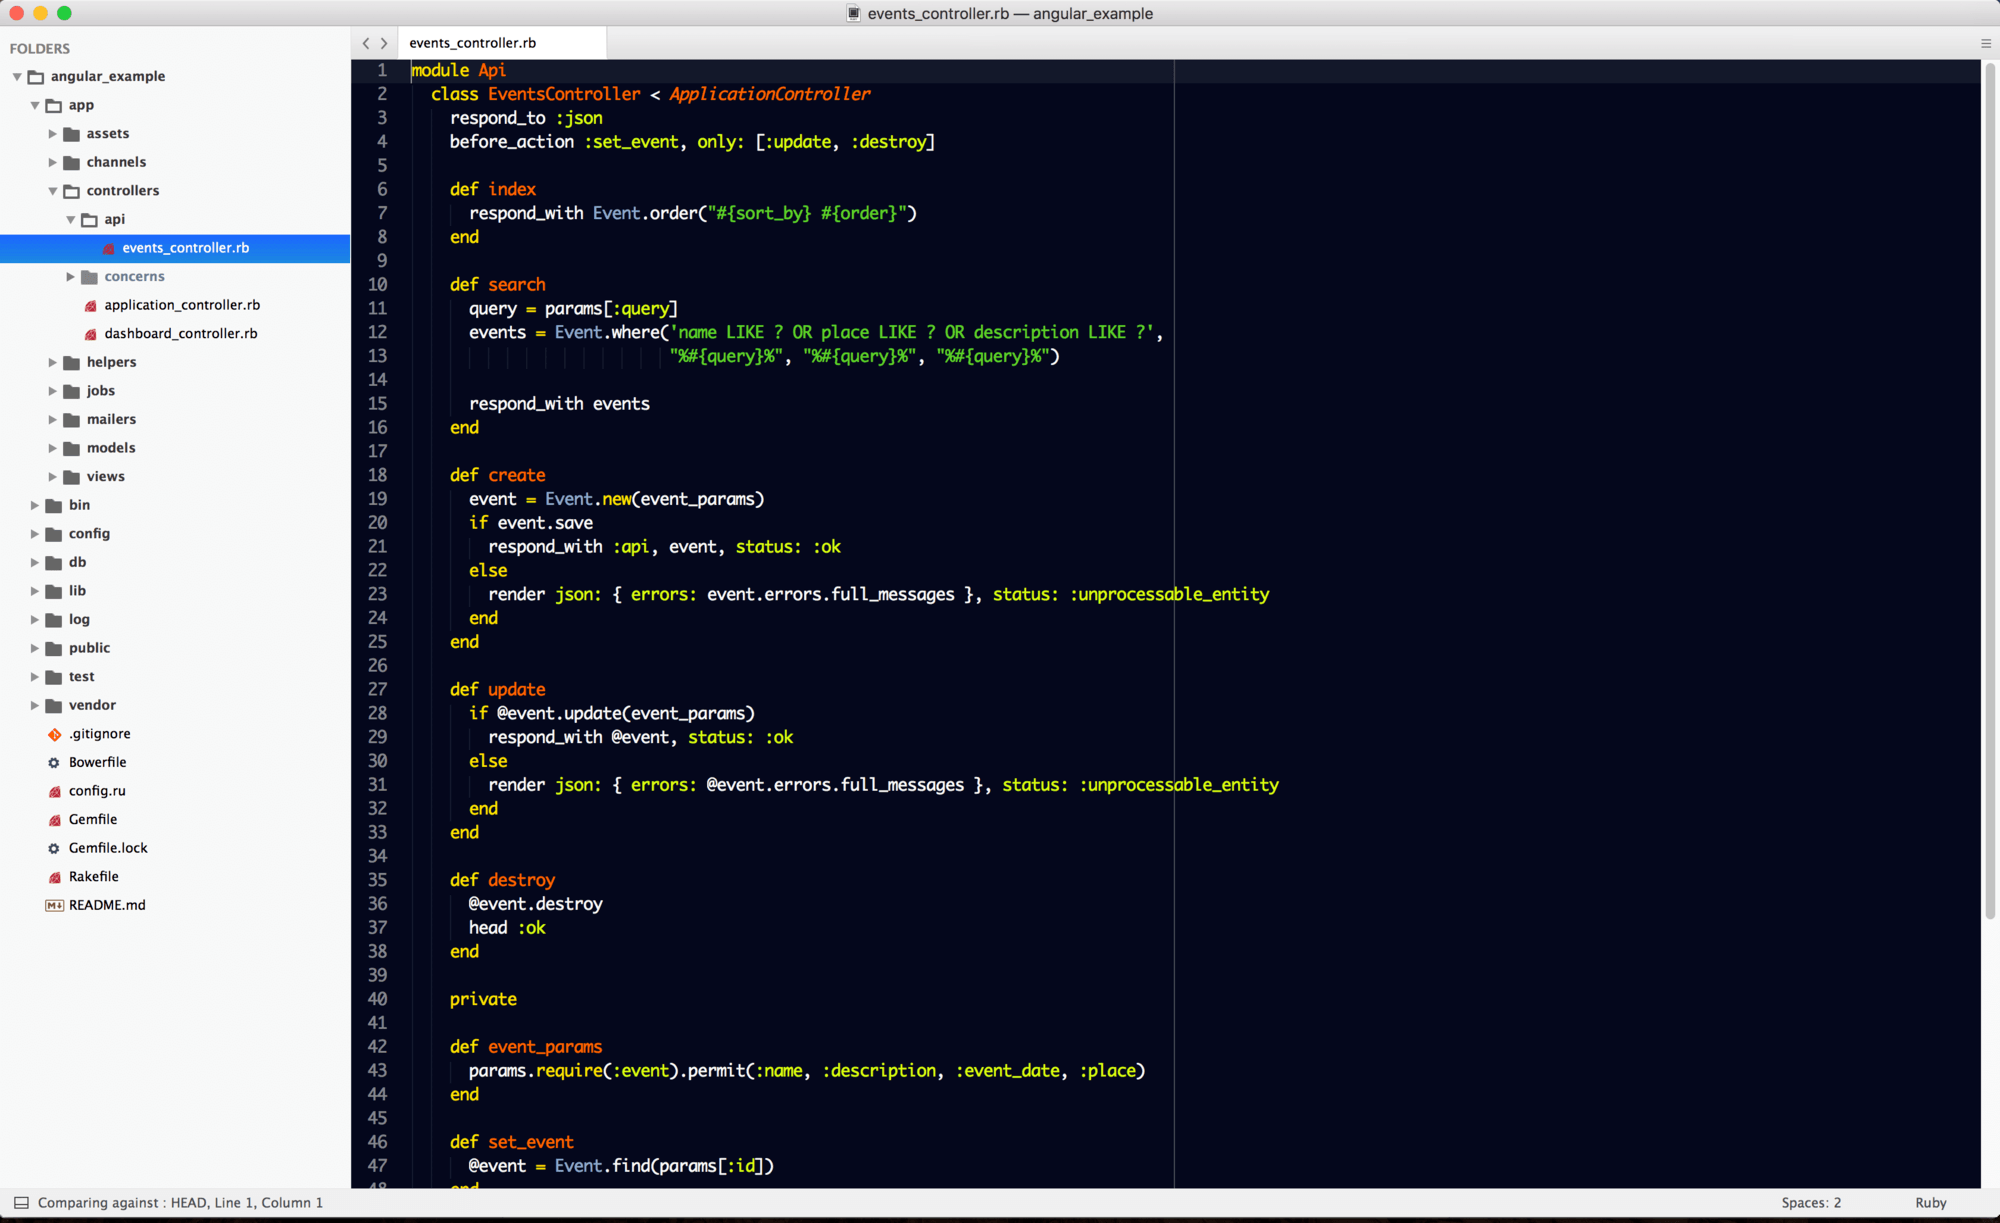
Let’s move to plugin installation and themes. I’m using the Lanzhou theme with the Blackboard color scheme. It looks like:
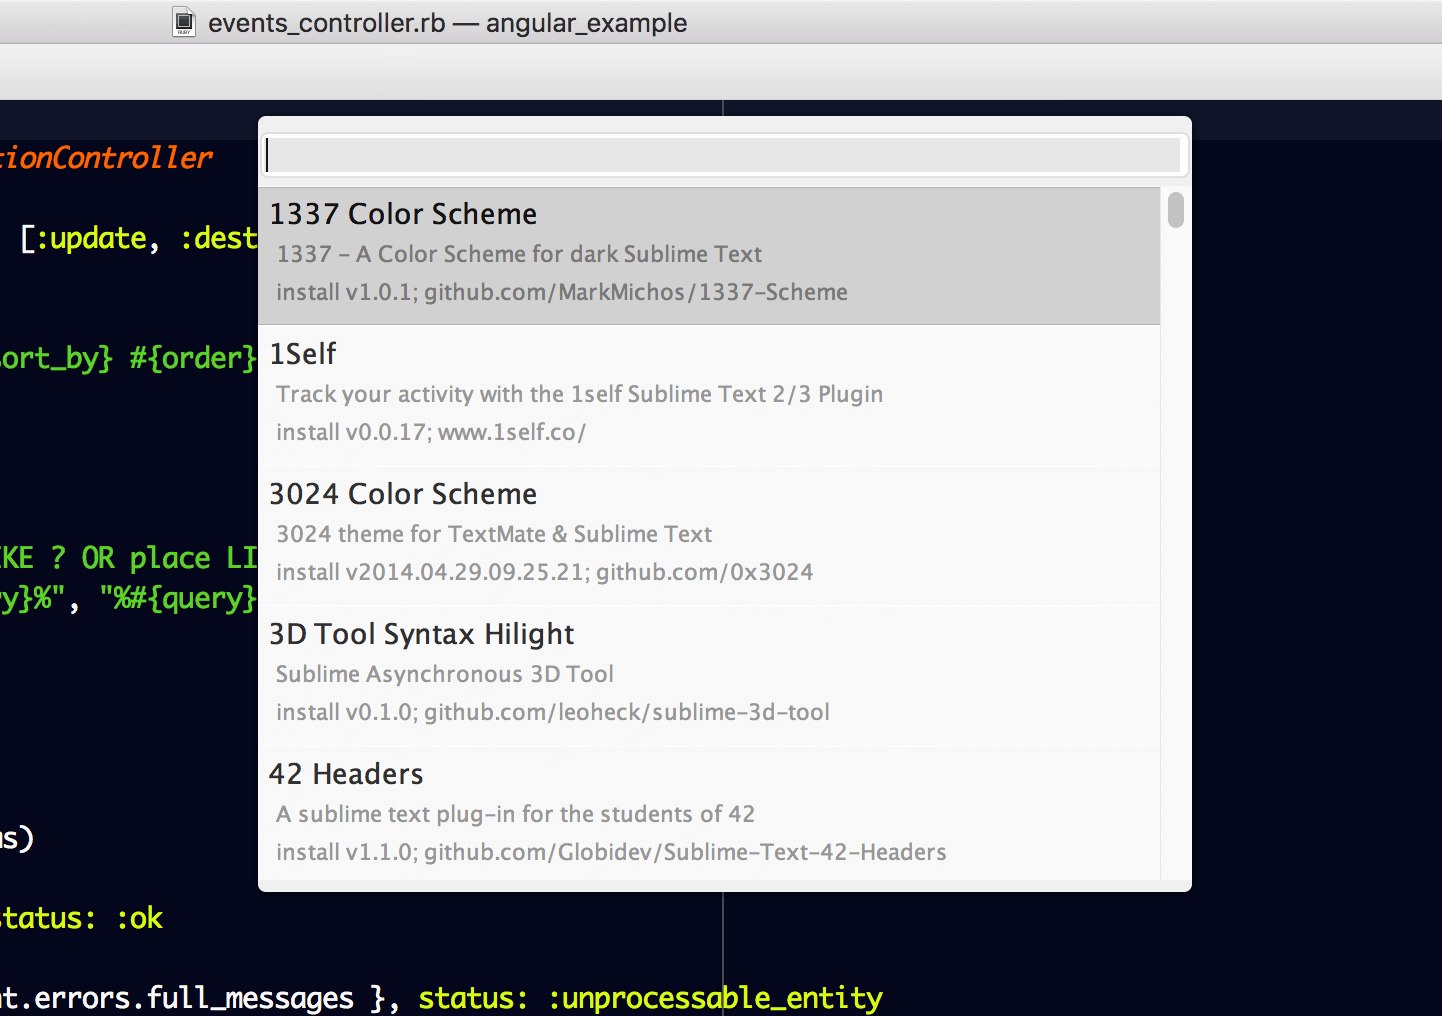
To install this theme, run cmd + shift + p and type “Install Package” and press enter, then a window will appear with all available plugins and themes.
Which plugins are the most useful? I’m using:
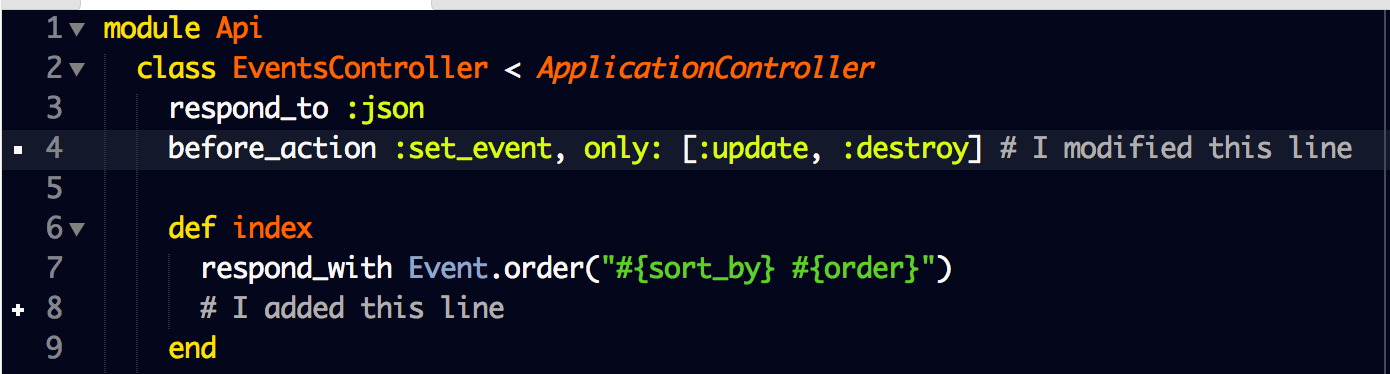
- Git Gutter – it shows all modifications in the repository on the left.
- Rails developer snippets – Rails completions and other snippets
- RailsGoToSpec – It allows you to go to a file’s spec. If it’s not present, it asks if you want to create a file.

- Ruby completions
- Ruby on Rails snippets
- Rspec
- Rspec-snippets
- Angularjs
- Haml – Sublime misses HAML syntax
- Sass – Same as with HAML, we need to install Sass
- JavaScript completions
- Sublimelinter – Linters are great plugins that check your code syntax and looks for any issues or adds suggestions

- Sublimelinter-ruby
- Sublimelinter-rubocop
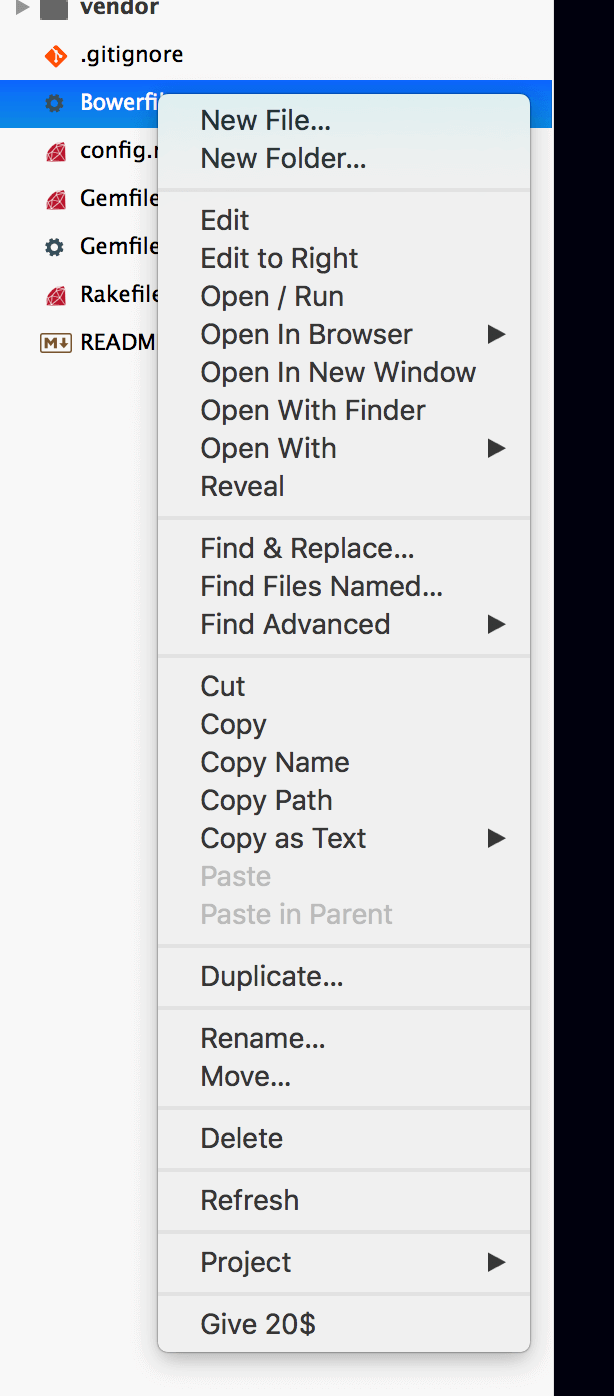
Another great plugin is “SideBarEnhancements”. It adds a lot of functions, but for me – “Move”, “Open with”, and “Open in Browser” are the best ones. You can find other functions here:
Here is my config file. It includes font, theme, files, and indent config.
{
  "auto_complete_commit_on_tab": true,
  "bold_folder_labels": true,
  "color_scheme": "Packages/User/SublimeLinter/Blackboard (SL).tmTheme",
  "ensure_newline_at_eof_on_save": true,
  "file_exclude_patterns":
  [
    ".DS_Store",
    ".tags*",
    "*.pyc",
    "*.pyo",
    "*.exe",
    "*.dll",
    "*.obj",
    "*.o",
    "*.a",
    "*.lib",
    "*.so",
    "*.dylib",
    "*.ncb",
    "*.sdf",
    "*.suo",
    "*.pdb",
    "*.idb",
    "*.class",
    "*.psd",
    "*.db",
    "*.pdf",
    "*.keep",
    "*.gitkeep"
  ],
  "folder_exclude_patterns":
  [
    "data",
    ".zeus.sock",
    ".git",
    ".svn",
    ".hg",
    "CVS",
    ".sass-cache",
    ".bundle",
    "bundle",
    ".rbx",
    "script",
    "tmp",
    ".idea"
  ],
  "font_face": "Monaco",
  "font_size": 14.0,
  "highlight_line": true,
  "highlight_modified_tabs": true,
  "ignored_packages":
  [
    "Vintage"
  ],
  "line_padding_bottom": 0.5,
  "line_padding_top": 0.5,
  "new_window_settings":
  {
    "show_minimap": false
  },
  "rulers":
  [
    80
  ],
  "save_on_focus_lost": true,
  "tab_size": 2,
  "theme": "Lanzhou.sublime-theme",
  "translate_tabs_to_spaces": true,
  "trim_trailing_white_space_on_save": true
}
You can change it here:
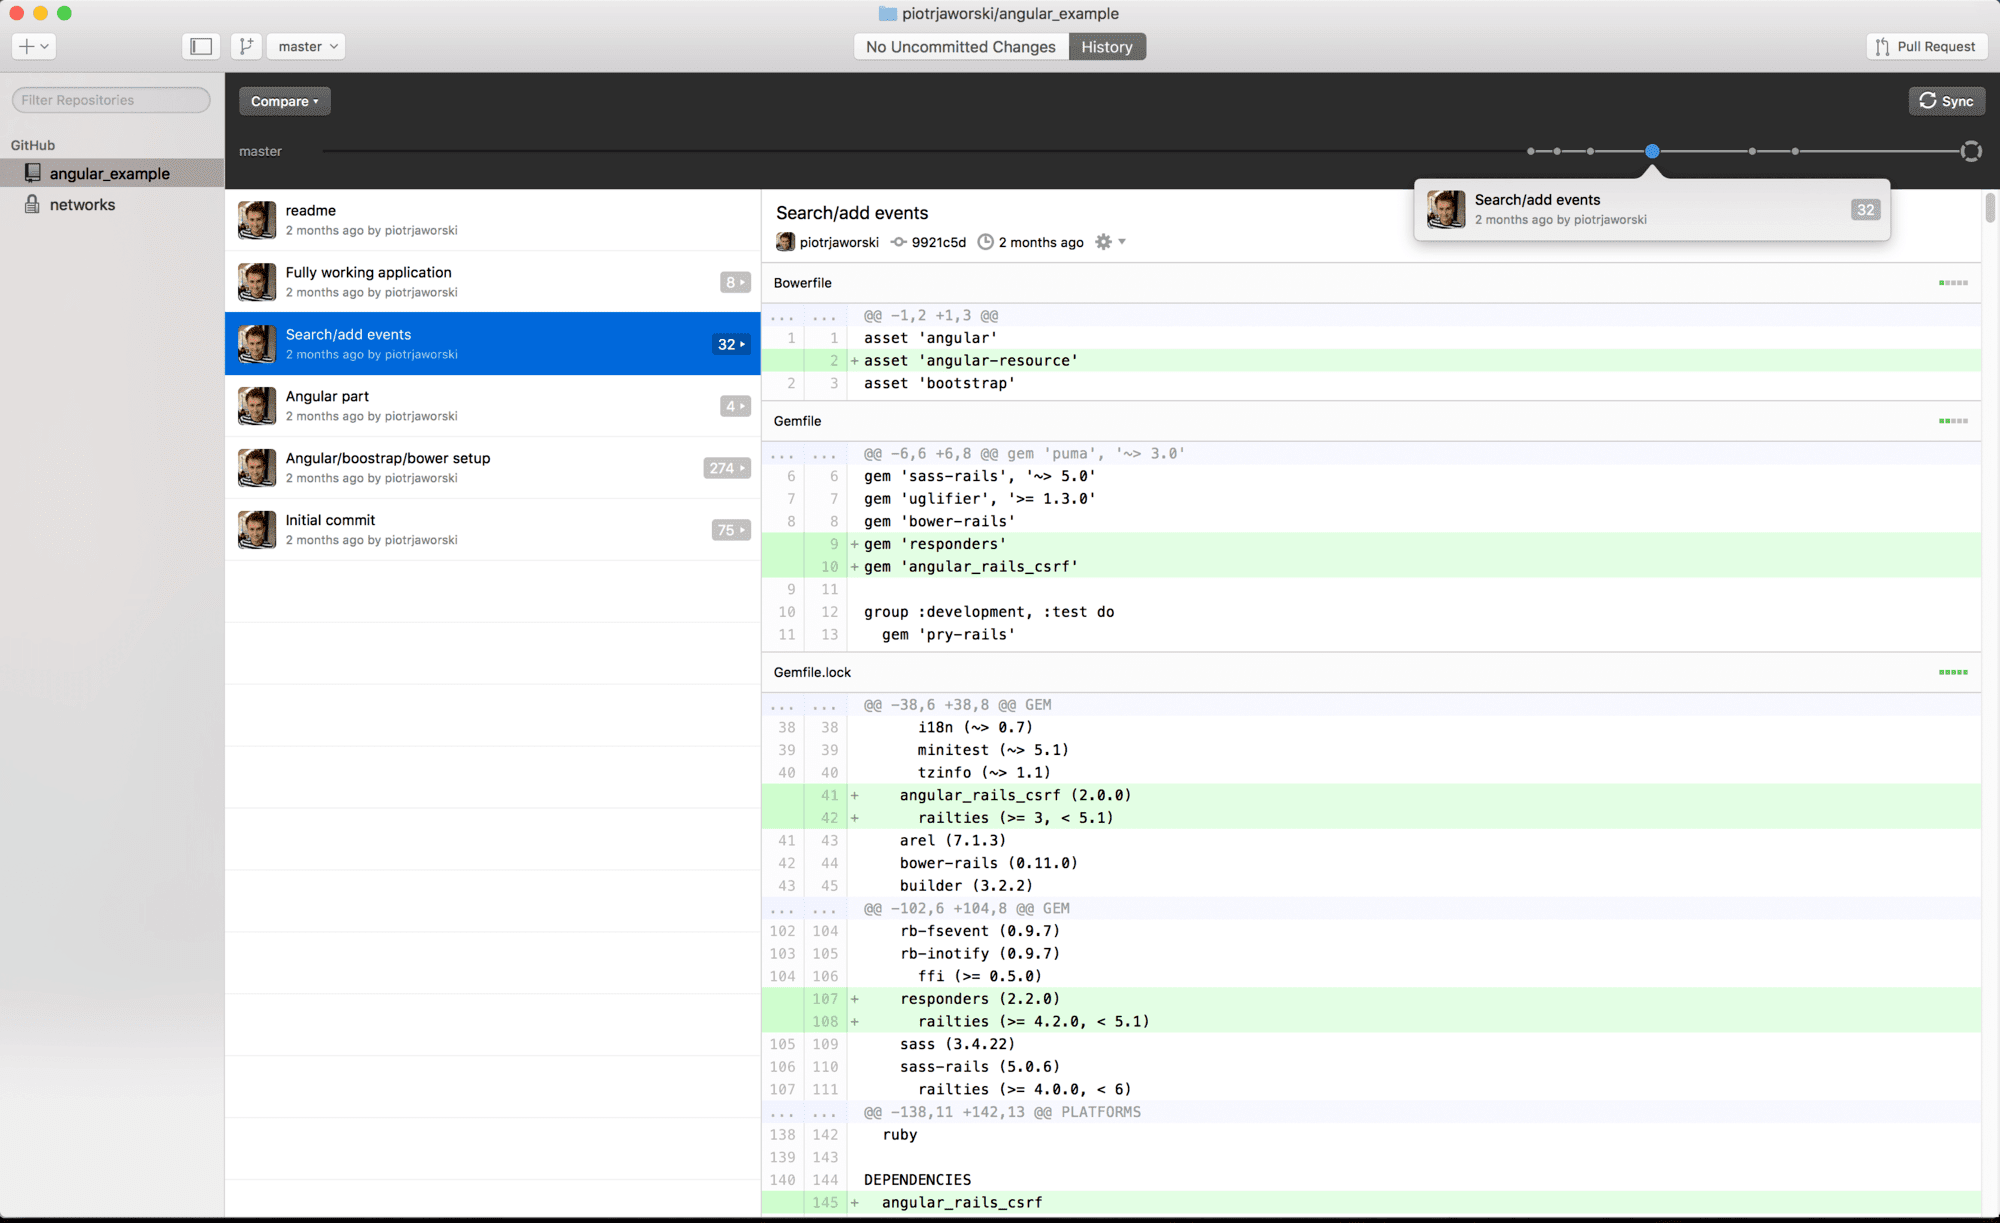
Github Desktop
If you are looking for free UI Git client – Github Desktop app made by Github is a great choice! It’s intuitive and allows you to integrate with Github, including clone repositories, create new pull requests, etc.
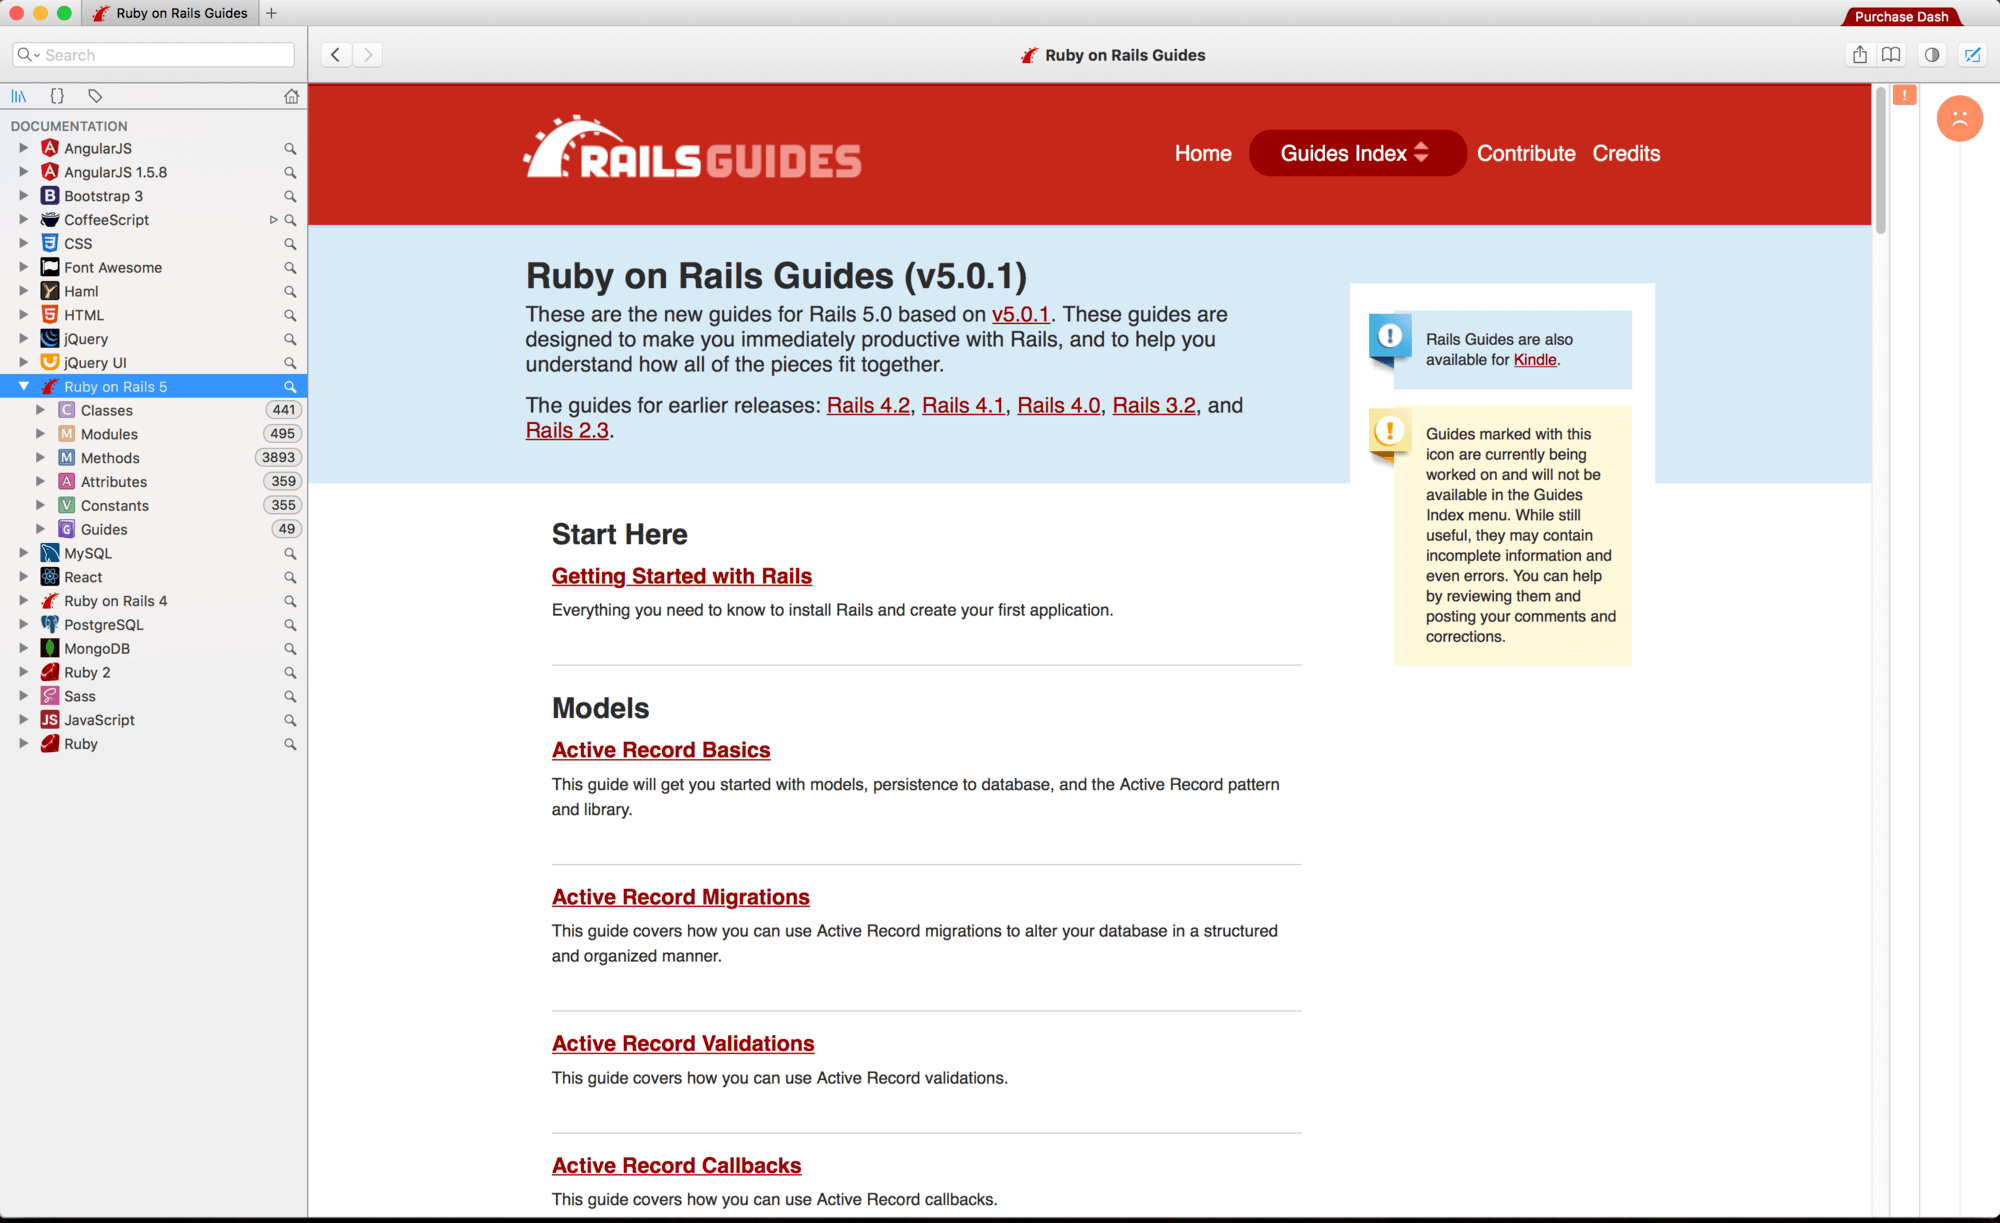
Dash
Do you ever work remotely without internet access? Yeah, it could be painful. You don’t have access to a documentation and other resources. Here comes Dash. Dash allows you to download a documentation for most languages and frameworks and use it offline. It’s free, but in order to remove some limitations, you need to purchase it. But honestly, the free version is enough!
Conclusion
In this article, I covered all useful information and applications that are helpful during local development. Feel free to use my config files and post any suggestions! I hope that you liked it!