
WordPress 6.2. update is on the way. What changes and new features will this WordPress update bring?
Introduction
This post will provide you with the solution to the problem of moving the default WYSIWYG content to your theme Advanced Custom Fields. It will guide you through multiple steps with descriptions and code samples.
The background
You are building the new WordPress page with shiny polished design, that you have been developing for a quite some time now. You have all plugins, styles, scripts in place, all your great Advanced Custom Fields fields working to provide the best content management. And now all you have to do is import the content of all 967 posts from an old version of the site.
You should not worry since there are great tools for that, and you simply do the export/import with the built-in WordPress tools.
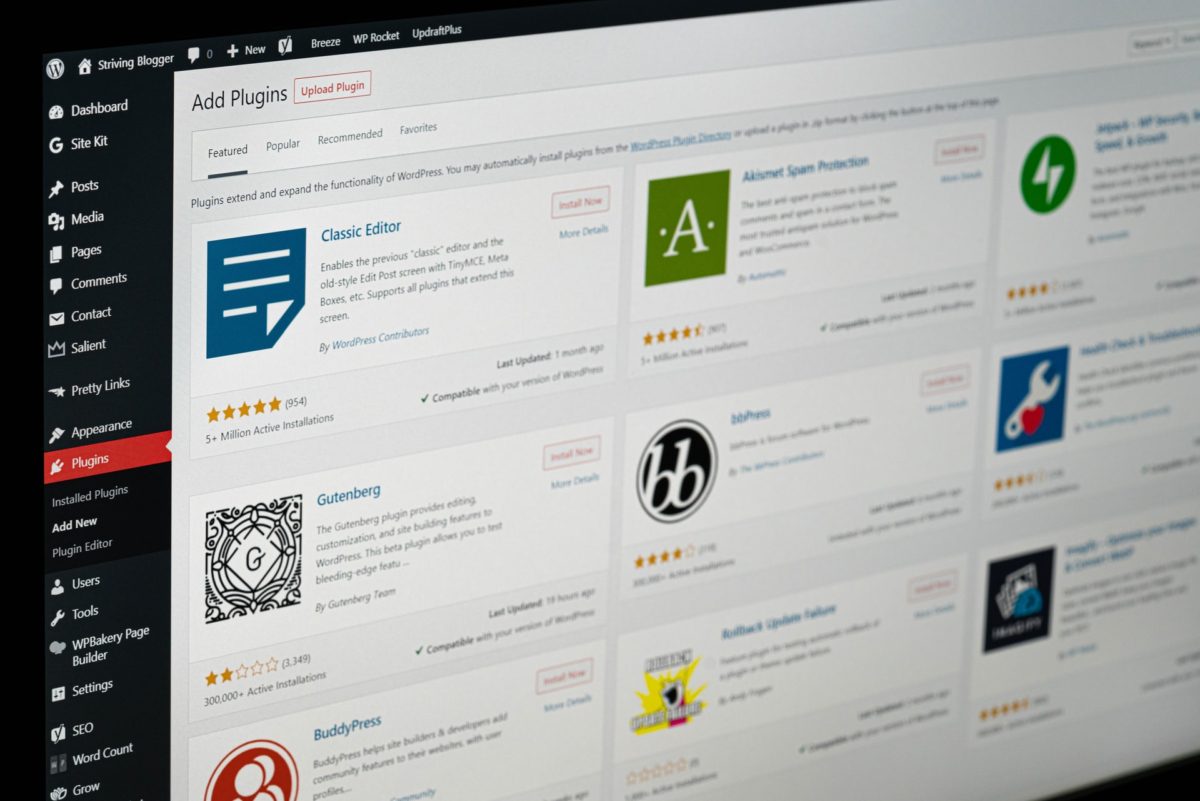
Aside: How do you Export/Import in WordPress?
In the WordPress admin of the old site, go to Tools>Export
- Choose either “All content” “Posts” or “Pages“. Leave other options as default unless you have other preferences. Click “Download Export File” and save the file.
- In the WordPress admin of the new site, go to Tools>Import. Select “WordPress”, install the importer by clicking “Install” in the popup, and “Activate Plugin & Run Importer”, then select the file to upload (the one you just downloaded). Click “Upload file and import”
- Follow instructions to assign the author as you prefer, check the checkbox to “download and import file attachments”, then click “Submit”.
The problem
When the import ends, you check the outcome. Now you realize that all your work on content management was a total waste of time because all old posts were edited in the default WYSIWYG editor, and now all your custom ACF fields and their styles or scripts are useless. Even though the posts are there, all the custom fields seem empty, or not working.
You need some way to copy the content into your ACF fields and update all posts at once, also to enable the custom fields.
The solution
There is no easy and straightforward way of copying the imported content into your ACF’s, at least not an easy search in google.com or stackoverflow.com. So I found a couple of useful functions and hooks, glued them together and got them to work.
Here are the steps that I took to copy imported content to the custom field, update all posts with it, then remove the content from default WordPress WYSIWYG editor. Next, I created a function like WordPress default excerpt function which gets contents from ACF fields. As a bonus, I will show you how to update all other custom fields values at once after importing data.
Copy the default content and update the custom field
- Create the helper file.
In your /inc/helpers create a new file for the created functions, then go to your functions.php file and import the file. Something like:include_once dirname( __FILE__ ) . '/inc/helpers/content-to-acf.php';
- Create the custom query
Add this custom query to the created file. It will loop through all posts.<?php $post = get_queried_object(); // args for the post query $args = array( 'post_type' => 'post', 'posts_per_page' => -1, 'post_status' => 'any' ); // get all posts with args // this case: all posts with any status $myposts = get_posts( $args ); foreach ( $myposts as $post ) : setup_postdata( $post ); //the functions endforeach; wp_reset_postdata(); ?>
- Get the default WYSIWYG content.
Use the standard get_post_field() function.// get post_content from default post WYSIWYG $default_field_content = get_post_field('post_content', (get_the_ID())); - Find and recognize which fields you want to update
In my case, the field I wanted to update was the flexible content field. In this step, you have to go to ACF admin, find the field group and the field you want to change. If you’ re using flexible content you have to copy the layout and the field name, and then you have to do the ‘Inspect’ element to get the main flexible content container field key. It looks like this:
data-key=”field_5b757ea595ae0″
We have to use field key value to be able to save the new value to a post when no value exists. This helps ACF create the correct ‘reference’ between the value and the field’s settings. - Creating variables
Next, we will create variables that will be used in the primary function.
a) Create the variable for the content changed$row = array( array( 'content' => $default_field_content, // field name 'acf_fc_layout' => 'content' // layout name ), );) Create the variable that holds the main flexible content field key
$field_key = 'field_5b757ea595ae0';
- Update field
Finally we get the ACF update_field(); function into action. This function will get all posts and not only update the field, but create it when no value already exists.update_field( $field_key, $row, get_the_ID());
- Wrapping up
Whole new helper file should look like this<?php $post = get_queried_object(); // get all posts $args = array( 'post_type' => 'post', 'posts_per_page' => -1, 'post_status' => 'any' ); $myposts = get_posts( $args ); foreach ( $myposts as $post ) : setup_postdata( $post ); // get post_content from default post WYSIWYG $default_field_content = get_post_field('post_content', (get_the_ID())); //flexible content $row = array( array( 'content' => $default_field_content, // field name 'acf_fc_layout' => 'content' // layout name ), ); // flexible content field key value (have to use ‘inspect’ in ACF admin to get it $field_key = 'field_5b757ea595ae0'; // update the field update_field( $field_key, $row, get_the_ID()); endforeach; wp_reset_postdata(); ?>
- Wrapping up
- Updating the posts fields
When the helper function is done and imported in functions.php ale you have to do is reloading the web page to trigger the function. Now all the fields should be updated. - Important to note
This function is meant to be triggered once, so when done, remove or comment out the import of this helper file in functions.php file. Otherwise, when you will go and clean the default WYSIWYG content (next paragraph) and let this helper work again, it will delete all the content in ACF fields also (because it will get the empty value of WYSIWYG and assign it to the ACFs).
Remove the default content
Now we want to clean the database and remove the unused default WYSIWYG content. To do this, we will use the same first two steps from the above.
1. And 2. So create the new file, and populate it with the new custom query. Choose which posts you want to update in $args variable, and then:
3. Set the default posts content to empty string
Take the wp_update_post() built in WordPress function to set the default posts content to empty string.
wp_update_post( array(
'ID' => get_the_ID(),
'post_content' => '',
) );
4. That’s it
All posts WYSIWYG editors are now empty, you can hide them in your ACF field group settings, so only ACF editor with the previously copied content remains visible.
Create the custom excerpt function
The excerpt is very useful when creating a blog page, but without default WYSIWYG, there is no way the default excerpt function will work. In my case I have the flexible content field for the imported content, so to get the excerpt function working I have to use the standard flexible content loop, and choose only the first content row layout that exists:
- Get the flexible content
//create excerpt from flexible content WYSIWYG ?> <?php if ( have_rows( 'flexible_content' ) ): $flexible_counter = 0; while ( have_rows( 'flexible_content' ) ) : the_row(); if ( get_row_layout() == 'content' ): //vars $content = ''; if ($flexible_counter === 0 ) { $content = get_sub_field( 'content' ); } <?php endif; ?> <?php endwhile; ?> <?php endif; ?> - If there is content, strip and trim it
Use :
a) strip_shortcodes() function to remove all shortcodes from content
b) Apply_filters (‘the_content’, $var) function to filter the content
c) Limit the excerpt length
d) Add excerpt_more hook
e)Finally, trim text to a certain number of words, and echo the produced contentif ( '' != $content ) { $content = strip_shortcodes( $content ); $content = apply_filters('the_content', $content); $content = str_replace(']]>', ']]>', $content); $excerpt_length = 20; // 20 words $excerpt_more = apply_filters('excerpt_more', ' ' . '[...]'); $content = wp_trim_words( $content, $excerpt_length, $excerpt_more ); } ?> <?php echo $content; ?> <?php endif; ?> - Final code:
<?php //create excerpt from flexible content WYSIWYG ?>
<?php if ( have_rows( 'flexible_content' ) ):
$flexible_counter = 0;
while ( have_rows( 'flexible_content' ) ) :
the_row();
// Simple content
if ( get_row_layout() == 'content' ):
//vars
$content = '';
if ($flexible_counter === 0 ) {
$content = get_sub_field( 'content' );
}
if ( '' != $content ) {
$content = strip_shortcodes( $content );
$content = apply_filters('the_content', $content);
$content = str_replace(']]>', ']]>', $content);
$excerpt_length = 20; // 20 words
$excerpt_more = apply_filters('excerpt_more', ' ' . '[...]');
$content = wp_trim_words( $content, $excerpt_length, $excerpt_more );
}
echo $content; ?>
<?php endif; ?>
<?php endwhile; ?>
<?php endif; ?>
<?php endif; ?>Bonus: Update any ACF field
Note: After importing posts, all ACF fields need to be updated for it to work. It can be done manually by clicking save on each post.
Recreate the steps 1 and 2 from “Copy the default content and update the custom field“ section, so create the file, import it and create the custom query that fits your needs.
3. Find and inspect the field that needs an update. This time the field is just the simple text field.
Copy the field key:
//field name
$field_key = 'field_5b8fde024e87c';
4. Decide what should be updated
Create a variable with the string/array containing the new/updated value.
$change_value = '0.4';
5. Use the update_field() function
// update the field
update_field( $field_key, $change_value , get_the_ID());
6. Final code
<?php
$post = get_queried_object();

// get all posts
$args = array(
 'post_type' => 'post',
 'posts_per_page' => -1,
 'post_status' => 'any'
);

$myposts = get_posts( $args );
 foreach ( $myposts as $post ) : setup_postdata( $post );
  // set the changed value
  $change_value = '0.4';
  //field name/field_key
  $field_key = 'field_5b8fde024e87c';
  // update the field
  update_field( $field_key, $change_value , get_the_ID());

 endforeach;
wp_reset_postdata();
?>
Summary
Building your site with Advanced Custom Fields plugin is efficient and easy. Now you have the knowledge and some code samples to migrate old posts equally efficient and easy.