
As you've probably guessed by the title of my article, I still consider Ruby on Rails as a relevant technology that offers a lot of value, especially when combined with ReactJS as it's frontend counterpart. Here's how I approach the topic.
A little while ago, my colleague quite boldly wrote that first time around, you will probably fail installing Ruby on Rails for Windows. Well, of course you’ll fail, if the last time you worked with Windows was couple of years ago. While I’m not saying that it’s the perfect operating system (nothing is perfect), and I will agree that it’s not easy to have complicated working environment on it, I wouldn’t go as far as to say don’t even try it.
In my opinion, the problems that you will face when trying to make Ruby on Rails work on Windows is not just the system’s fault, it’s mostly the problem of community itself. There is a mentality among developers that Windows is not for programming, which is quite unfair, since the system has made so much progress since their older versions. But because of this reputation, Windows is being neglected by developers and too often they just ignore bugs reported Windows-only and don’t test new versions on it.
As you have probably guessed, I prefer Windows on my work computer. To be honest, the perfect setup for me is to have remote server with running Rails and to have editor to sync locally edited files with files on server. But of course it’s silly to have such setup for studying purposes or for developing something small. So let me tell you how to set up a working Rails environment on Windows 10.
Cmder (console emulator)
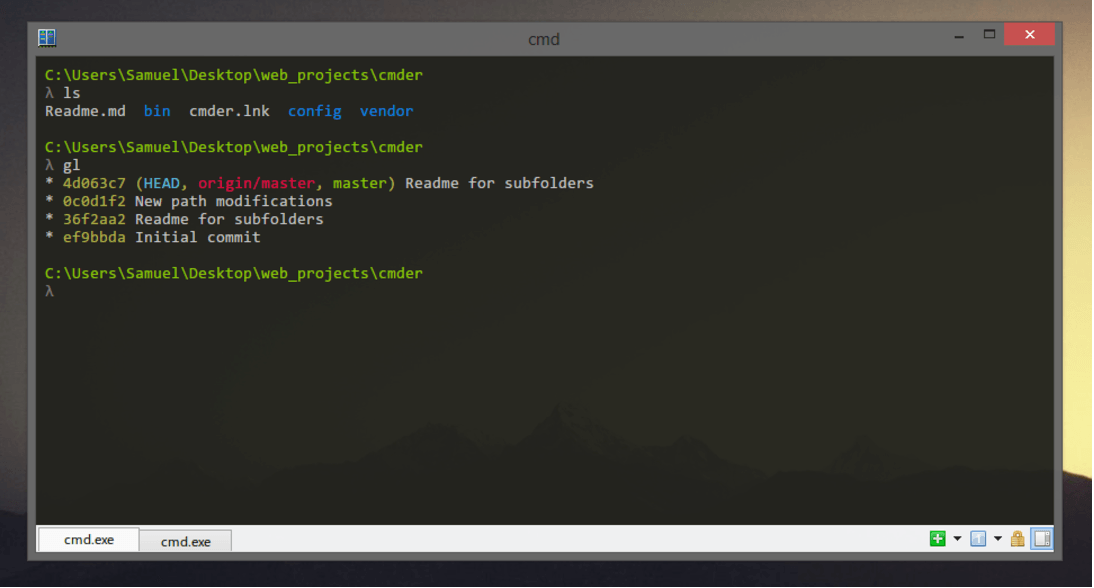
A good console emulator makes working with Windows much easier. There are plenty of such applications to choose from, and I personally prefer Cmder. It’s based on ConEmu with some additional features and a nice interface. With Cmder you can run several different shells (cmd.exe, PowerShell and even bash) in tabs, and use basic Unix commands and aliases.
But my personal favorite of Cmder features is the ability to use ssh-agent. Of course I like Putty and its various forks, but being able to simply write “ssh …” in shell is often much more convenient. It will work on Windows absolutely the same as on any other OS, so add your private keys to C:/Users/[your username]/.ssh folder, add agent forwarding (if needed) to .ssh/config and you’re ready to go.
Chocolatey
Chocolatey is the second must-have application that makes working with Windows much more enjoyable. Basically, it’s the Windows version of Linux apt-get package manager. It uses NuGet infrastructure and PowerShell framework and is able to automatically download, install, update and uninstall software. Thanks to NuGet, there’s a huge library of packages for us to use.
There are several options as to how to install Chocolatey on your machine. If you choose Cmder, you need to run it as administrator with this command:
> @powershell -NoProfile -ExecutionPolicy Bypass -Command "iex ((New-Object System.Net.WebClient).DownloadString('https://chocolatey.org/install.ps1'))" && SET "PATH=%PATH%;%ALLUSERSPROFILE%chocolateybin"And that’s it. Now you can start installing Ruby on Rails environment.
Installing Ruby and Rubocop
All you need to do to have Ruby on your Windows machine is to run this command:
> choco install ruby
Easy, isn’t it? This will not only install all needed software but will also add ruby to your PATH. As soon as the installation is ready, you can open the Ruby console by simply typing:
> irb
By default Ruby will be installed to C:/tools folder, but it can be overridden on installation.
Most gems will also need Ruby Development Kit, which allows to build and use native C/C++ extensions.
> choco install ruby2.devkit
We have Ruby, now let’s install our first gem.
Regardless of where my Rails server runs, I always use Sublime Text as my main development tool. As my colleague Piotr already described, there are so many useful features that we can add to it, including Ruby Linter and Rubocop Linter. Ruby syntax check will start to work as soon as you have installed Ruby, but we’ll also need to install Rubocop gem to make sure that our code is not only correct, but also pretty.
Installing gems on Windows looks the same as on Linux/OS X:
> gem install rubocop
And this is the first time we’ll run into troubles. In all likelihood, the command will give you this error:
ERROR:  Could not find a valid gem ‘rubocop’ (>= 0), here is why:
          Unable to download data from https://rubygems.org/ - SSL_connect returned=1 errno=0 state=SSLv3 read server certificate B: certificate verify failed (https://api.rubygems.org/specs.4.8.gz)
Here is a full guide about how to fix the problem, but in this article I’ll give you the short version.
First, download the latest RubyGems Update gem file (not zip or any other format) from here and put it to the root of your hard drive or in any other place you want (it’s temporary, so it doesn’t really matter, but you’ll need to write its address).
Now we need to install this gem manually:
> gem install --local C:rubygems-update-2.6.10.gem
> update_rubygems
After this, gem –version should report the new update version. If everything is ok, you can uninstall this gem and remove downloaded file.
> gem uninstall rubygems-update -x
> rm -f C:rubygems-update-2.6.10.gem
After this gem install rubocop should work for you.
Installing Ruby on Rails
You can install Rails as usual:
> gem install bundler
> gem install rails
It is possible that you will run into this error:
ERROR:  Error installing rails:
        The 'nio4r' native gem requires installed build tools.

Please update your PATH to include build tools or download the DevKit
from 'http://rubyinstaller.org/downloads' and follow the instructions
at 'http://github.com/oneclick/rubyinstaller/wiki/Development-Kit'
We installed Development Kit earlier, so simply add C:toolsDevKit2mingwbin to PATH. You may also need to restart your console emulator.
After installing Rails gem, you can create and run your Rails application like so:
> mkdir [path_to_your_rails_folder]
> cd [path_to_your_rails_folder]
> rails new [project_name]
> rails s
These commands should make default “Yay! You’re on Rails!” page accessible via http://localhost:3000/.
We will certainly need a database for our application. Since we’re trying to install something simple, I would suggest using Sqlite. It demands absolutely no configuration at all. Simply install it with Chocolatey:
> choco install sqlite
> choco install sqlite.shell
You can test if it works by opening the sqlite console with command > sqlite3. Its syntax is a little unusual, so to exit the shell you’ll need to type .exit with a leading dot.
You can change database names in config/database.yml but it’s the only configuration that you’ll need to add.
There were two additional problems that I ran into while finishing setting up my usual Rails environment.
First of all, after generating my first controller, Rails gave me a “TypeError: Object doesn’t support this property or method” error when I tried to open the page. After some Googling, I learned that the new version of coffee-script-source gem doesn’t work with Windows. In this case, you can either disable CoffeeScript and Turbolinks, or force the 1.8.0 version in your Gemfile (‘coffee-script-source’, ‘1.8.0’) then run:
> bundle update coffee-script-source
Secondly, I like using Rspec and it mostly works on Windows. The only problem is that rails g rspec:install will also throw an error. I spent around an hour reading bug reports in GitHub repositories and how Rspec developers blame Rails, Rails developers blame Thor, and Thor developers blame Ruby itself. Despite being very entertaining, it didn’t really help. Luckily, this command just copies three file templates, so you can do it by hand: .rspec goes to your app’s root folder, and rails_helper.rb and spec_helper.rb should go to spec/ folder.
And that’s exactly what I was talking about. Of course it’s hard to work with Windows if even such popular gems aren’t completely usable on it. Once again, I suspect that it’s not a problem of the system itself. But whatever the reason, it doesn’t matter too much as long as there’s a simple workaround and we have our working environment on Windows.